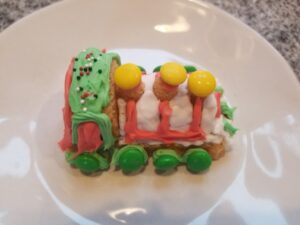
Happy New Year and welcome to kidscookdinner.com, a website my brother Max and I (Alex) started 5 years ago to post about food, kids’ cooking, and the serious issue of hunger in the world. Unfortunately, the need for hunger relief has only gotten worse since then, so if you have time, check out Action Against Hunger’s website here. To see what we cooked today, read on. As I mentioned a couple of days ago, Max is pretty busy with his college applications so I have been doing most of the holiday baking.
One of our annual traditions is a holiday train cake. The end result is cute and delicious but this does take all day to make. Here’s a teaser photo of the end result.
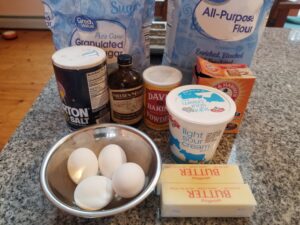
Here are the ingredients: the most interesting one is sour cream. I was very skeptical about including it, but it made the cake very light and fluffy.
Recipe:
- 2-1/4 cups all-purpose flour
- 1-3/4 cups sugar
- 2 tsp. baking powder
- 3/4 tsp. baking soda
- 1 tsp. salt
- 2 sticks unsalted butter, melted
- 1 cup sour cream
- 4 eggs
- 1 Tbs. vanilla extract
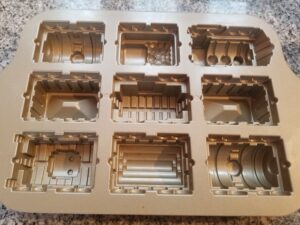
The other key element is a train cake mold. Mom got our mold from Williams & Sonoma maybe 8 years ago: it’s really cute with 9 cars, including an engine, coal car, and caboose. When we were younger, we pretended it was the Polar Express. The recipe is from W&S as well.
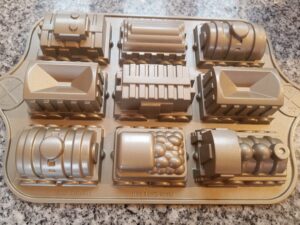
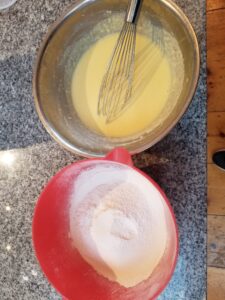
The first step is to preheat the oven and grease and flour the cake pan (this is tricky because there is so much detail, but super important, otherwise you will lose those details when you flip the cake out. The second step is to sift together the flour, baking powder, baking soda, and salt and, in a separate bowl, whisk together the butter, sour cream, 4 eggs, and vanilla.
Then with an electric beater (using flat beater if you have it), gradually add the dry ingredients to the butter mixture and beat on low till the dry stuff is just moistened.
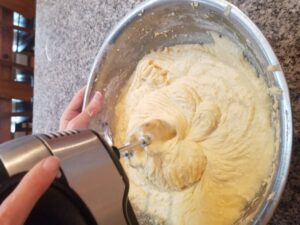
Scrape down the bowl and increase speed to medium for 30 seconds. Make sure everything is combined but don’t overbeat.
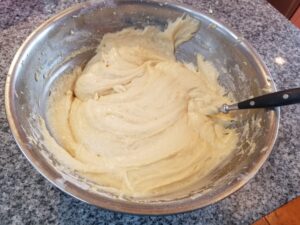
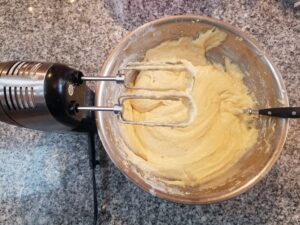
Then per the W&S recipe you are supposed to divide the batter in half and set half of it aside. (Then after you’ve cooked the first half of the batter, and the mold has cooled and been cleaned and greased and floured, you cook the second half of the batter. From prior experience, we know that 9 cars are a lot of train cars to decorate so we decided to make cupcakes instead of 9 more cake cars.) Anyway, once the batter is complete, you spread it evenly in each car mold and bake 18-22 minutes (until a toothpick comes out clean).
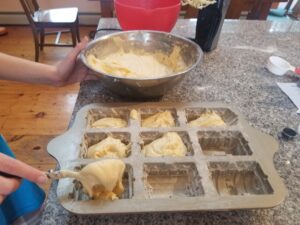
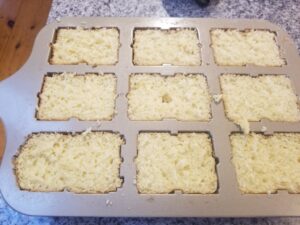
Do not, do not fill the molds all the way up as we did. The recipe says to spread the batter so it reaches the top edges of each mold with the batter a little lower in the center of the mold….that is what we tried to do (see photo below) but this is still too much batter. We found out the hard way.
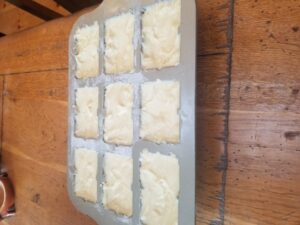
As you can see, this resulted in overflowing cake cars.
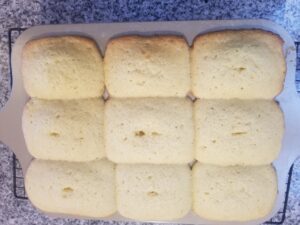
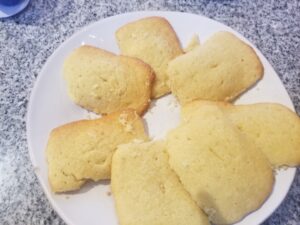
Fortunately, I was able to slice off the extra cake with a large bread knife (which left us with good snacks while we waited for the cake to cool). You should let the cake cool for 10 minutes on a wire rack and then invert and let cool for at least an hour before frosting.
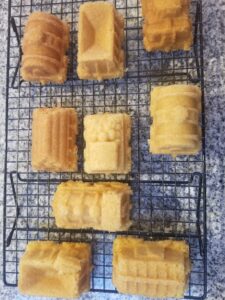
When I finally flipped the pan, I was delighted.
Once the cakes were cooled, I mixed up red, green, and white frosting and got out holiday sprinkles and M&Ms. The M&M are ideal for the train wheels.
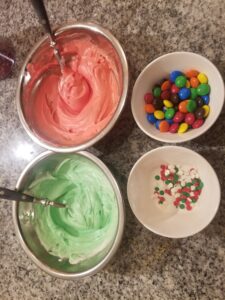
Then it was frosting time.


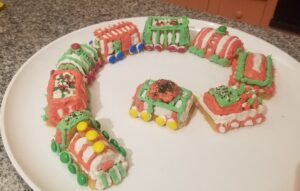
And here’s the final, full train cake — it tasted great.
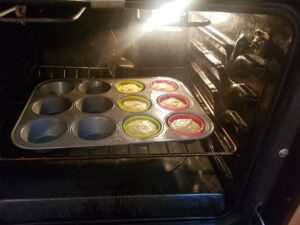
PS: the cupcakes turned out nicely as well and were a little easier to decorate. 🙂
.